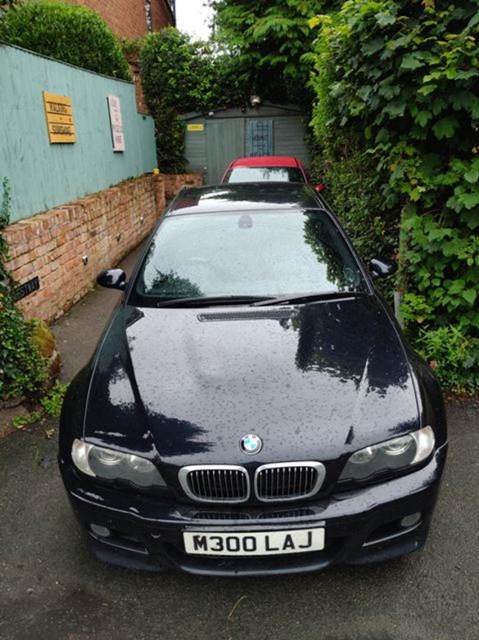
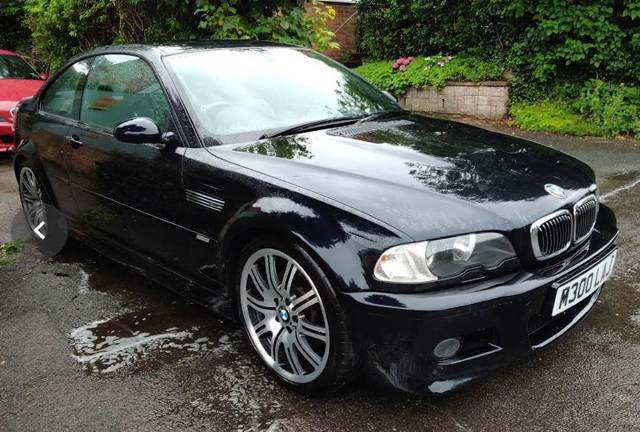
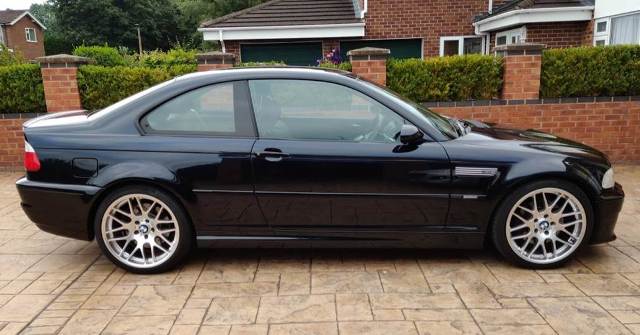
The new project the 2001 E46 M3 Coupe.
After a few nervous weeks, my best mates old car is now on my drive, after I
was
allowed to become the second custodian after being passed along from his widow
Emma. As I type not sure how he would feel knowing I am responsible for its
creative direction, but hopefully time will tell.
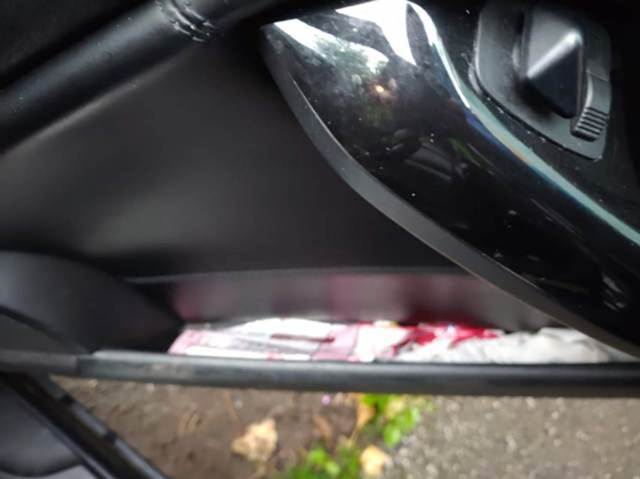
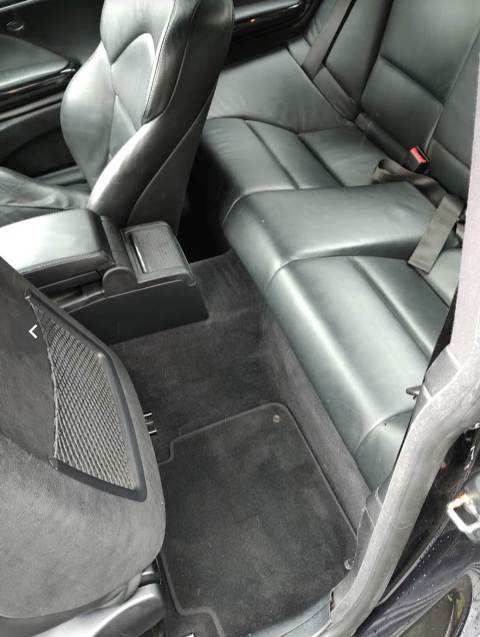
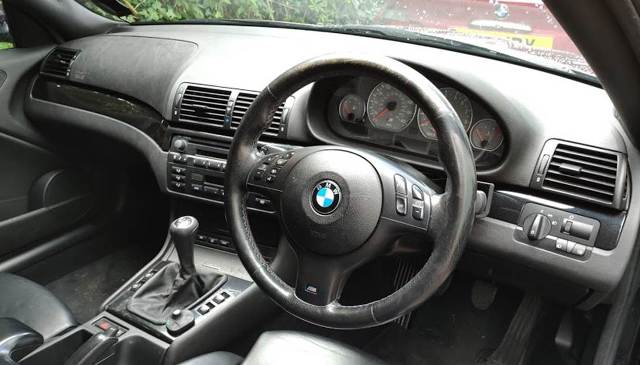
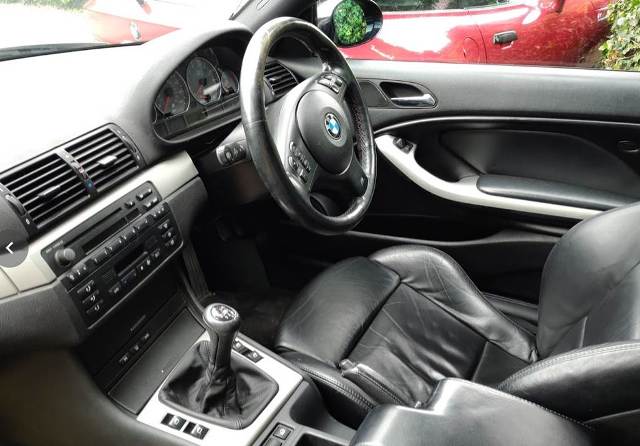
Initial inspection: (Emma offered to clean it out, but I was in a rush to
collect it once her new car arrived, so don't pay too much attention to the
interior)
At home on its new drive.
Wheels generally used, as the car has been a daily driver and toured the
country over the last few months.
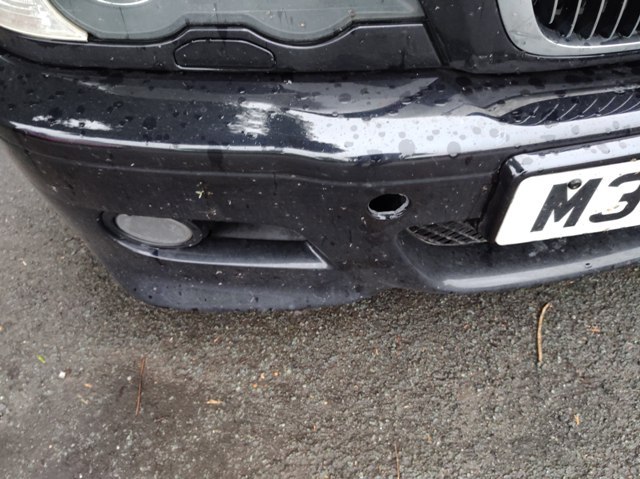
Simple fix, missing tow eye cover.
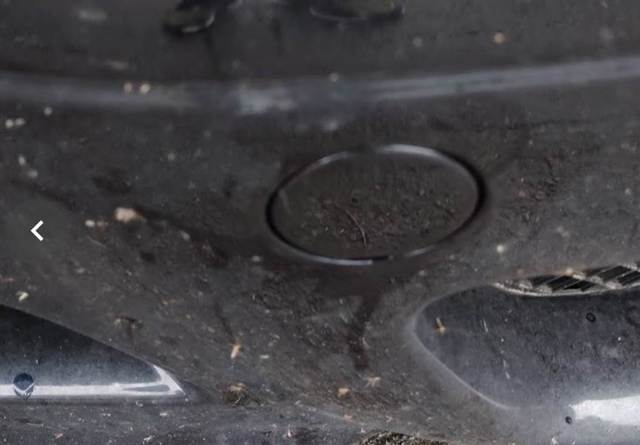
See, A quick fix as the cover was in the glove box.
The second job was a quick tidy, and hover.
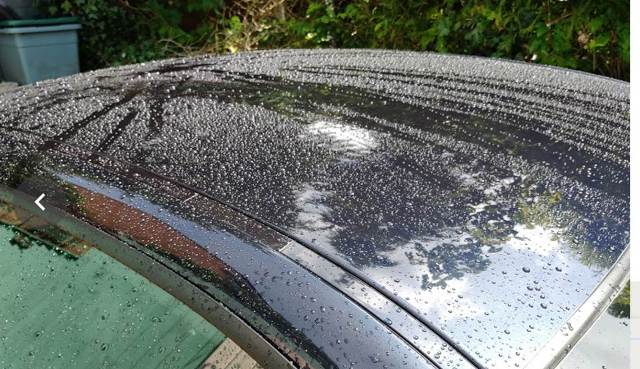
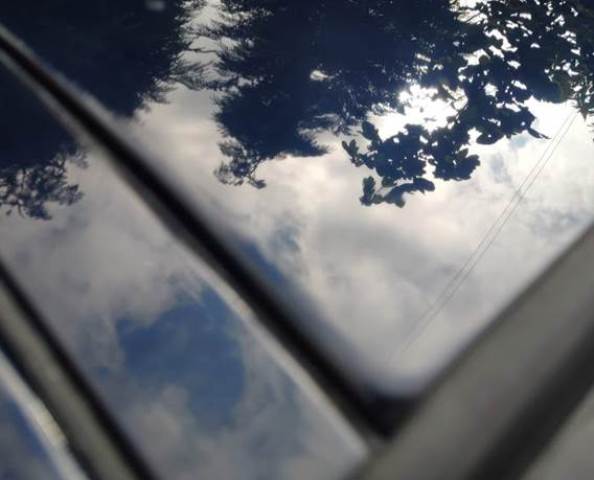
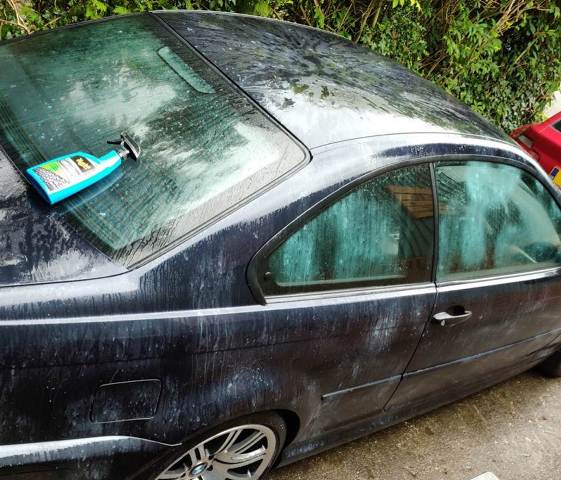
Then followed by a quick wash to see what we were dealing with.
Looks can be deceiving, as the wet look hides a lot of issues. Note the lack of
breading from a car that was previously professionally ceramic coated.
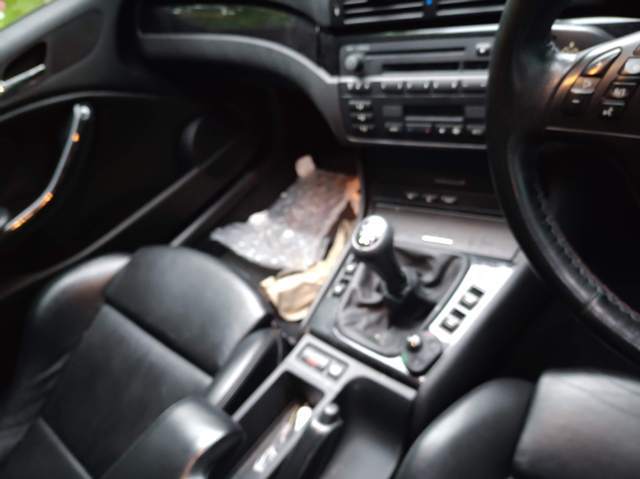
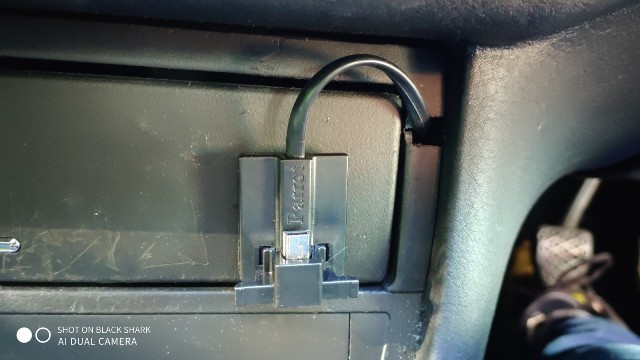
The first main job was to relocate the Parrot LCD, as stuck to the dashboard was
not going to work for me.
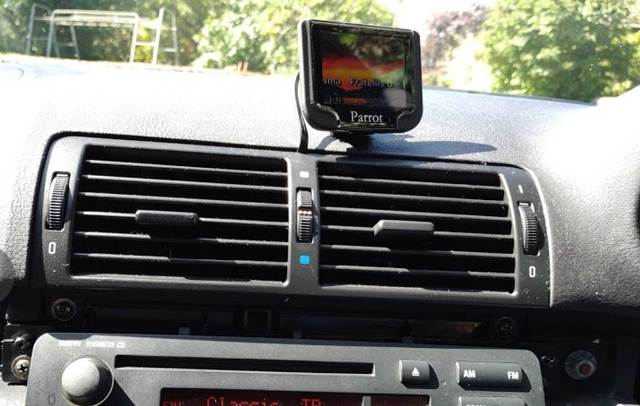
Fortunately, it came off, and the super glue remains were carefully removed from
the dash cushion.
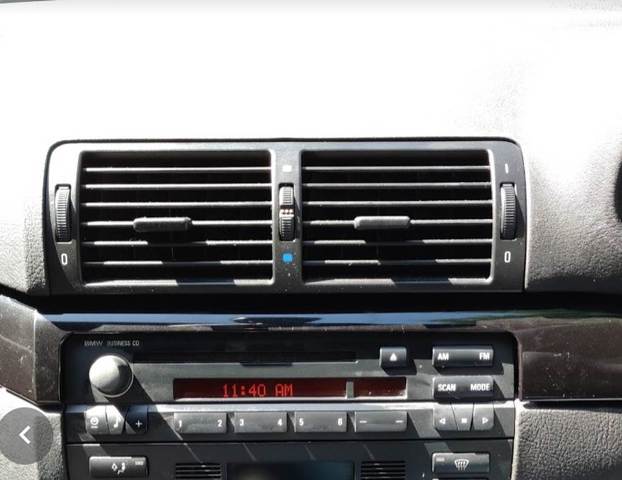
Move down here for now.
Wheels to be reviewed at a later date.¦
I uploaded a new background to the Parrot LCD.
A bit cheesy, but hey.
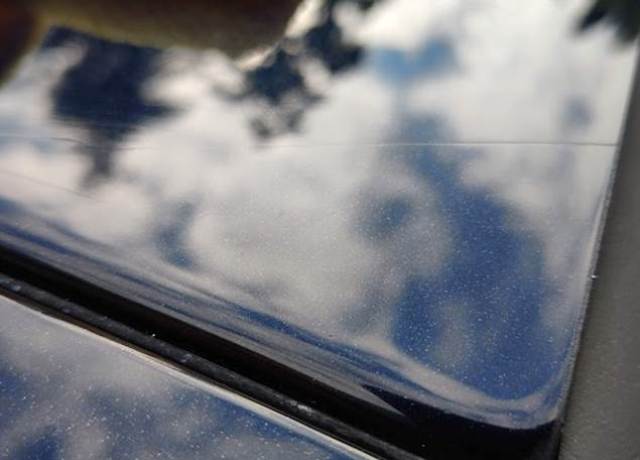
Had a quick look at what a bit of Wax would do to the roof, to see if I could
polish some life back into it.
Much better beading already, and that was before working on it with a full
detail.
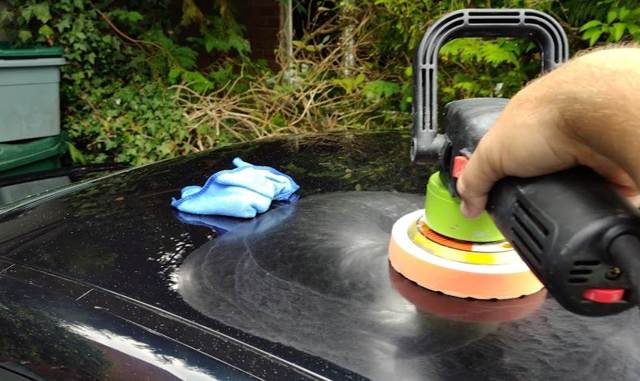
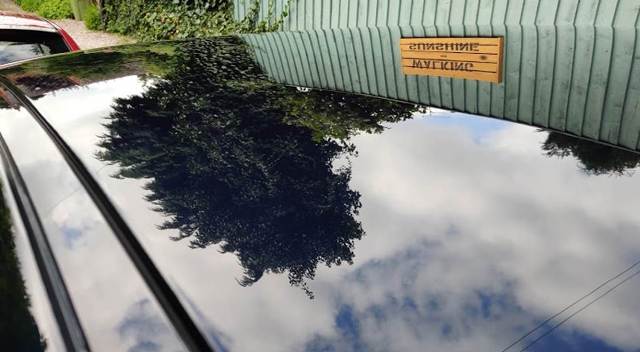
First major action: The paintwork, Plan was a full deep wash, followed by a clay
bar, Machine polish then all over the top surfaces, followed by the sides. wax
and ceramic coat.
As you can see, she needed that.
Some of the deeper scratches were made bareable by some P2000 grit sandpaper and
patience.
P2000 and lube ;0)

Generally pleased with the results of the polish.
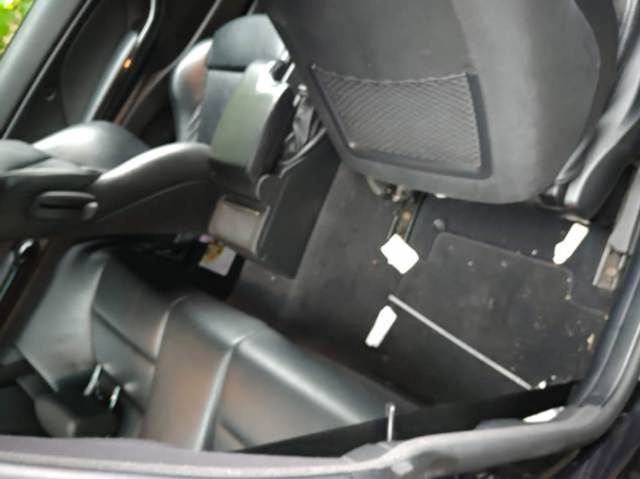
The headrests were a bit floppy, and I noticed they were missing some clips,
they were replaced, but still, the issue remains, but that's one for another
day.
Some missing clips were replaced at the same time.
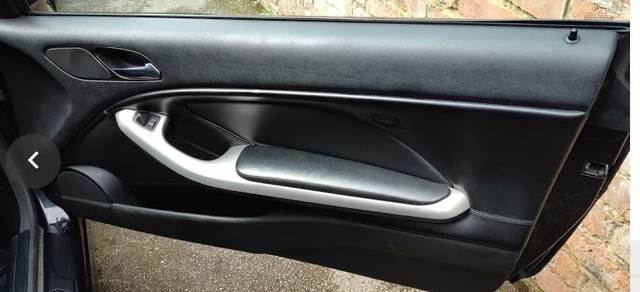
Then next job I wanted to tackle was the trim, I never liked the black, as it
shows up stains, and when clean reflects on your eyes when you drive, so quick
search on eBay, and I managed to find a cheap set of matt silver to replace the
piano black, and this was similar to the original Aluminum the car would have
had from new.
Old worn black trim made the interior a bit lack luster and dark.
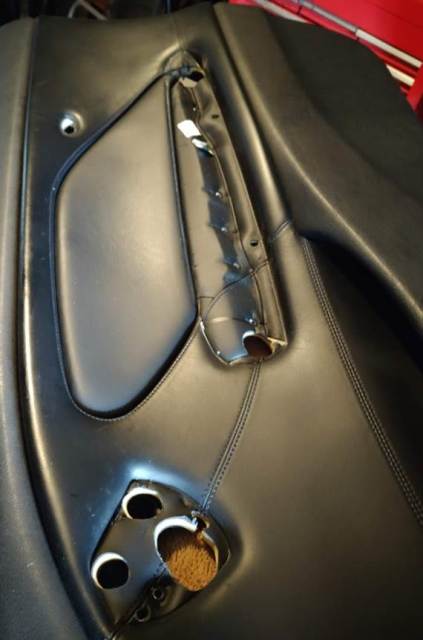
The trim came with all the door handles making it a lot easier, and whilst the
seat was out I gave it a leather clean.
As is always the way, there were missing and broken trim clips, but I have
spares.
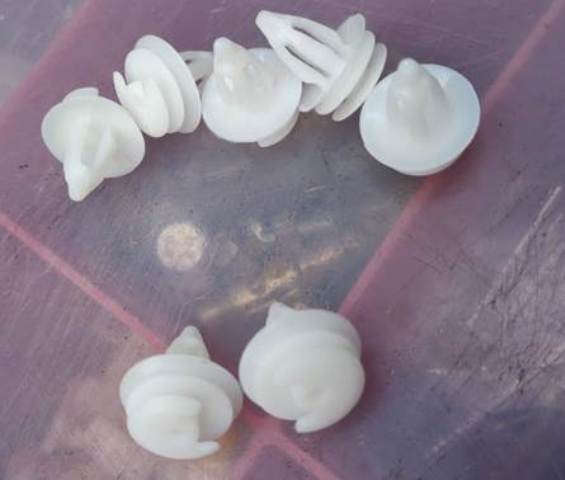
New old stock.

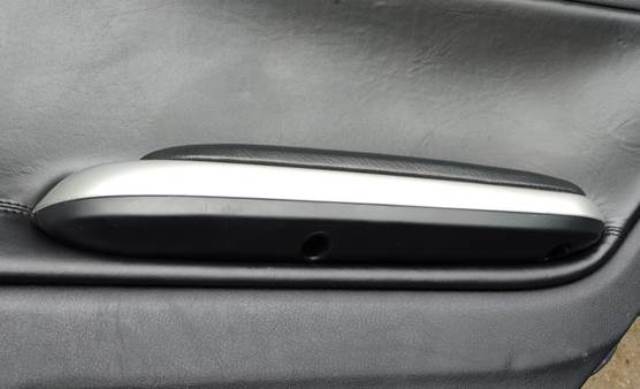
Door panels off, stripped and new door handle attached.
Back on the car.
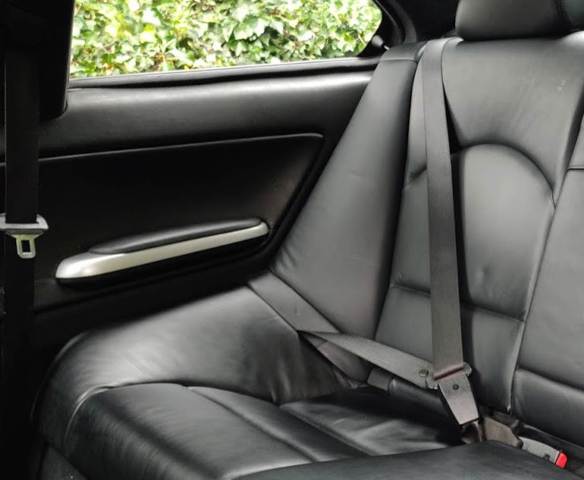
The rear door handles were done too.
Rears back in the car, and seat base cleaned and the leather was treated at the
same time.
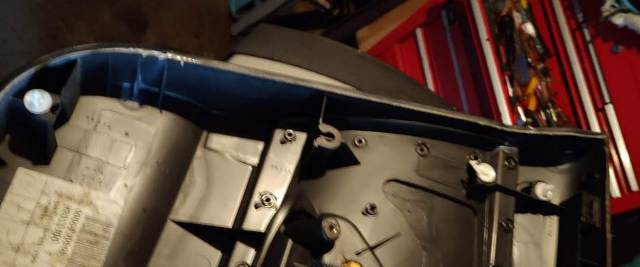
Dash trim next, broken and missing trim clip mounts hiding behind the dash
inserts, but I had bought some in advance, and the second-hand set also had some
spares, so job done.
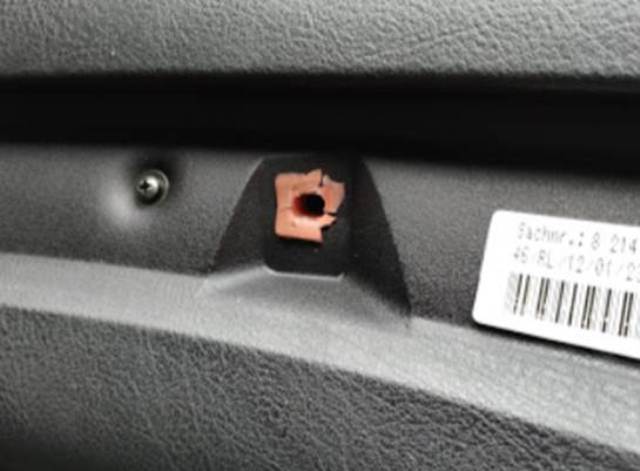
Missing.
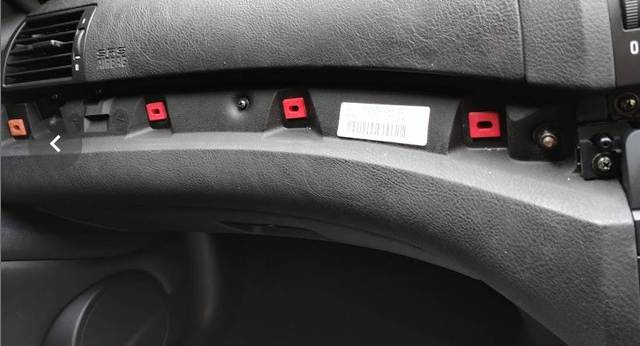
All replaced and refreshed.
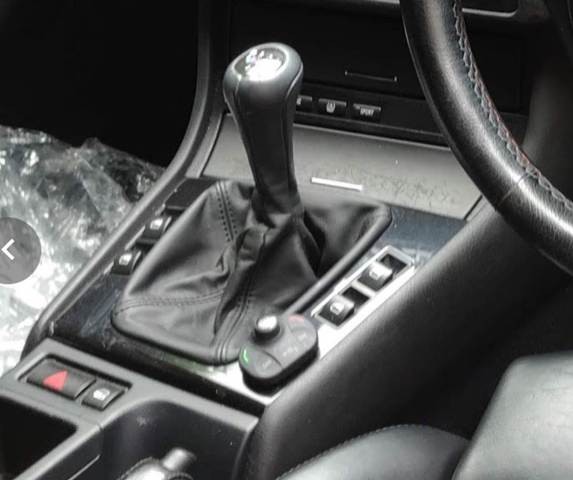
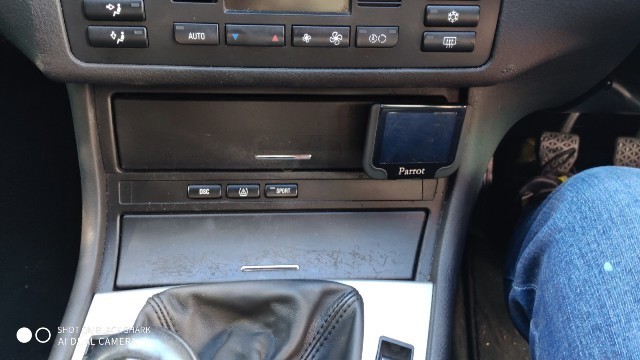
Gear surround needed attention too as I need to get the Parrot control removed
from its current position, and was slightly worried the superglue method may
have been deployed here too.

Cleaning as you go.
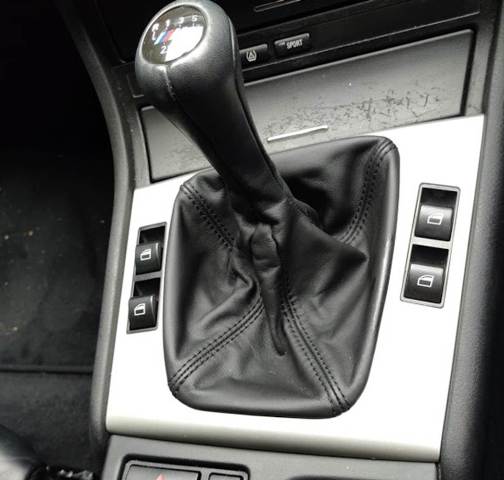
New Silver and the Parrot remote was relocated.
And complete.
Back to the detailing, Ceramic Hybrid Wax. Spray on, and dry off.
I was and I am very happy with the results.
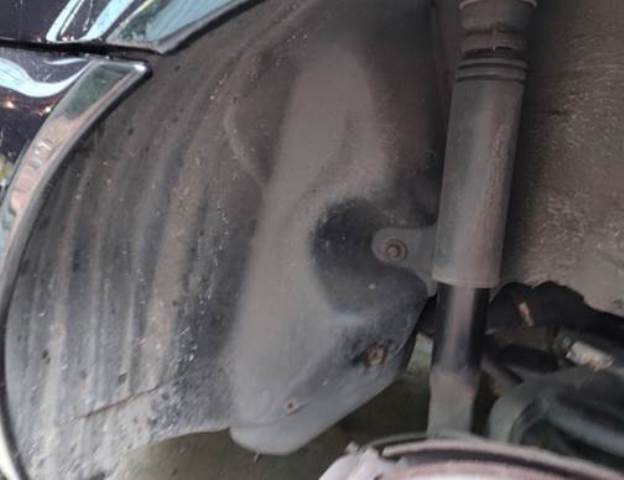
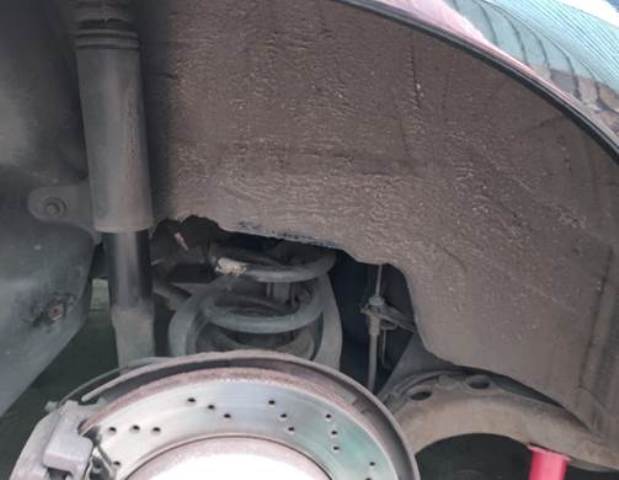
On to the next job, wheels off and arch cleaning. The arches themselves were
just dirty, and after IO got the dirt off, they were left in good order, but
lacklustre as the old sealed faded paint did not look up to much, so I decided
to tread the arches to some nice new under seal.
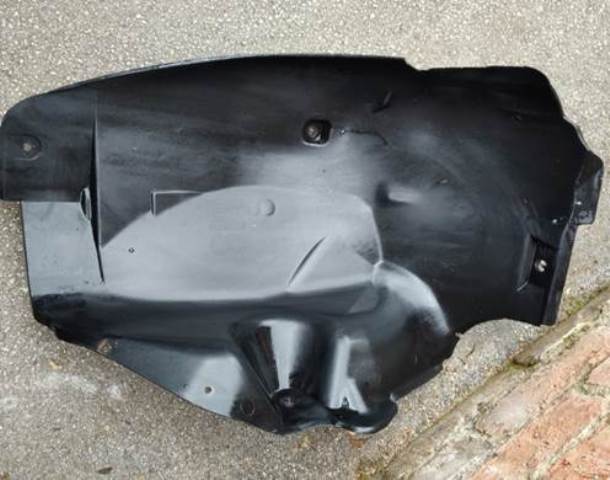
Trim cleaned up.
Even though it was in good order, I thought I'd refresh it with some seam sealer
to make it look for uniform, and and offer some protection.
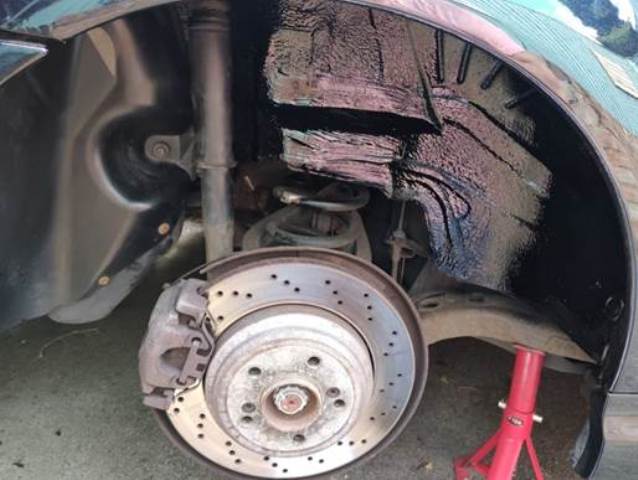
Then the passenger side.
I think it looks a lot better and of course, offers some more protection from
stone chips and the elements.
Back to the interior and I always wanted to move this odd thing, and as the car
is now mine, I tried to remove it and tuck it out of the way.
As it happened that was not needed.

as the cable had been cut off and left hanging behind the dash, so into the bin
it went.
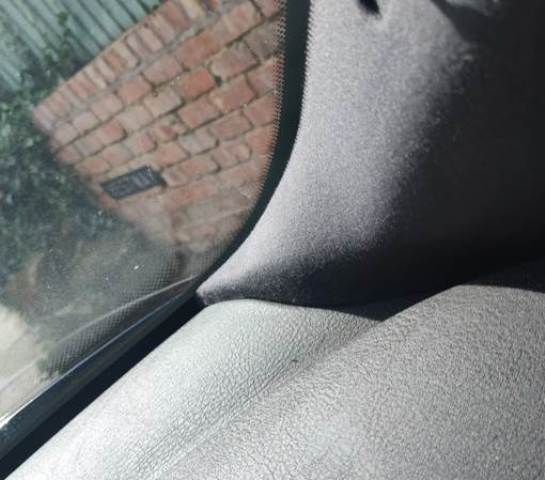
A-Pillar ruffles to look at, and rather than just buying new ones, I decided to
try and glue them down first, not an easy task with the glue I had but thought I
would give it ago.
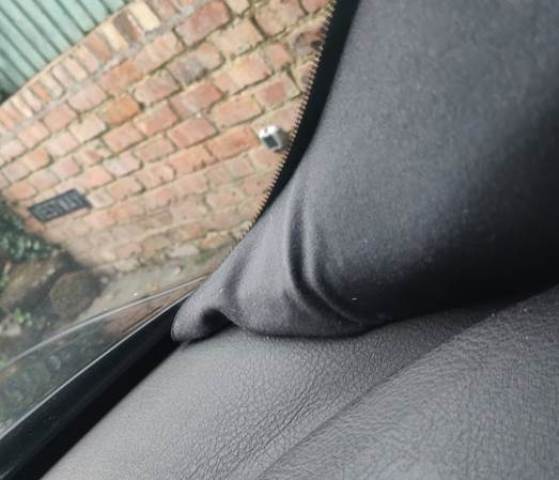
Again I was happy with the results.
Then a quick fix, replacing a missing bumper trim bolt.
Then B pillar trim was glued back down too.
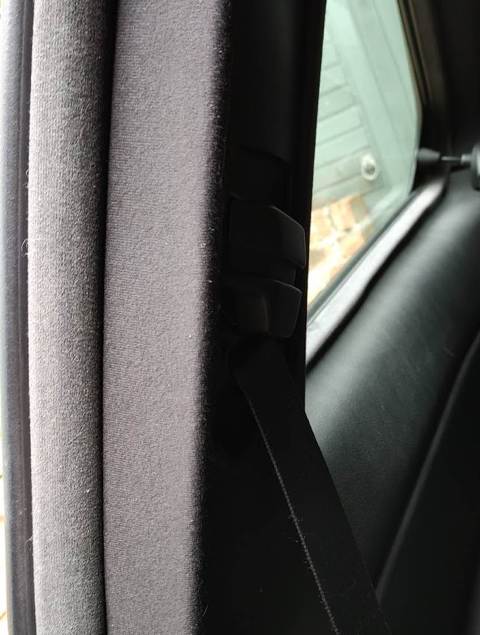
Part cost-saving, part maintaining the originality of the car.
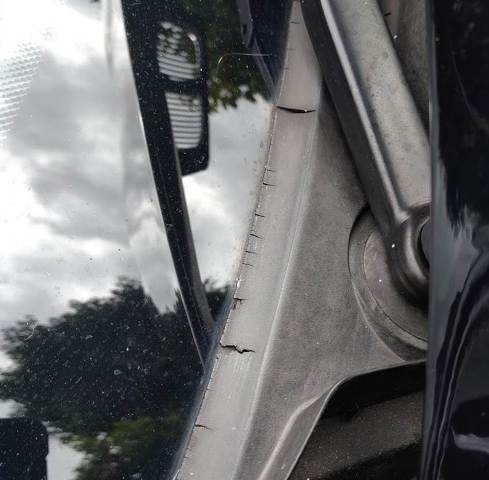
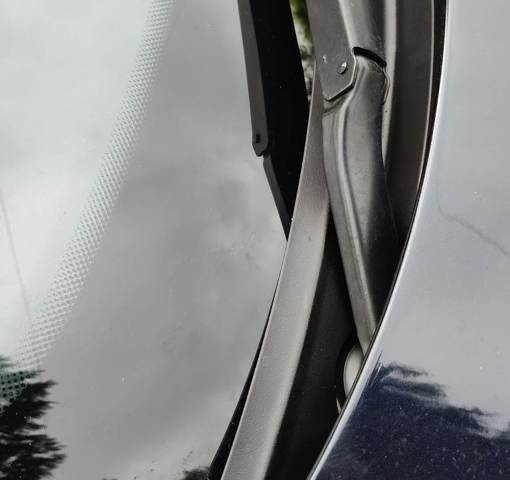
I had noticed the windscreen trim had become perished over time, so thought that
would benefit from a refresh,
the rear badge was looking a bit tired too.
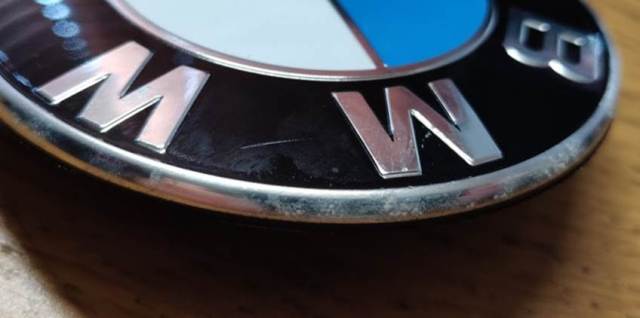
So quick call to Harry Fairbairns, and OEM parts later.
Good as new.
On to the windscreen trim.
Plenty of cleaning to be done whilst I had access.
Much better.
And again on the trim.

Back to new.
Trim back in place
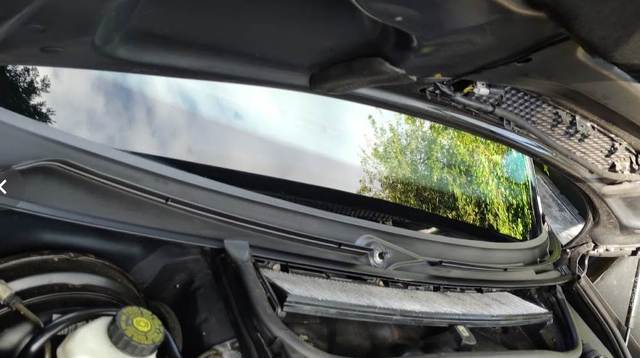
Much better and will help stop water ingress.
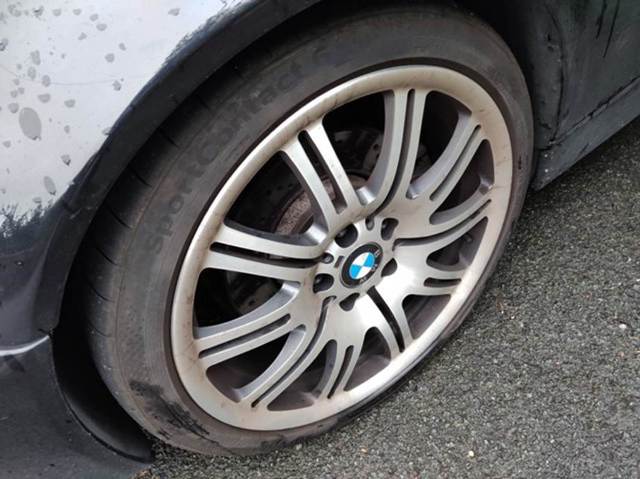
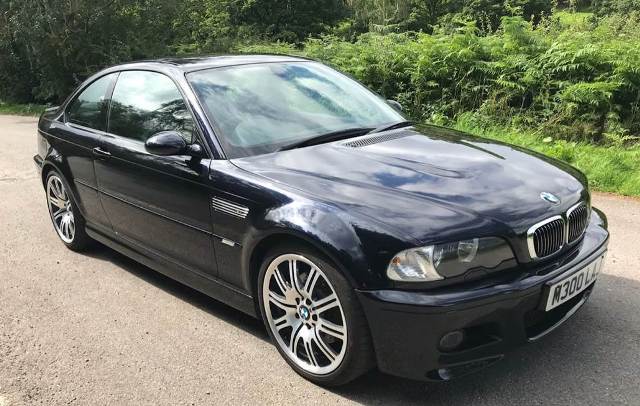
Onto the wheels. The option was to pay for a refurbish of the OEM alloys but I
never really liked the wheels on the M3 in standard trim, so against my OEM
drive, I went for some CSL Style replacements, that were the same cost as a good
refurbish, but did not necessitate me sending the car or wheels away.
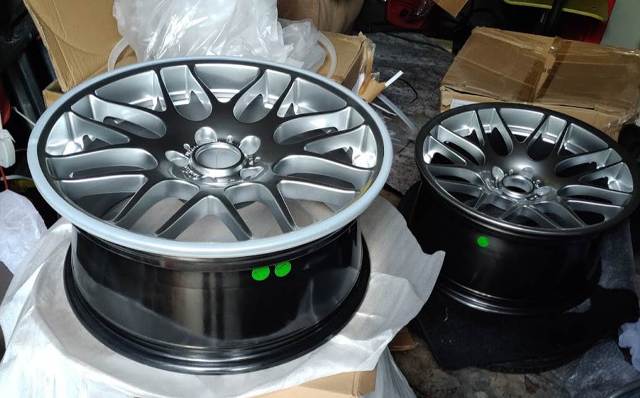
I just love the difference it made.
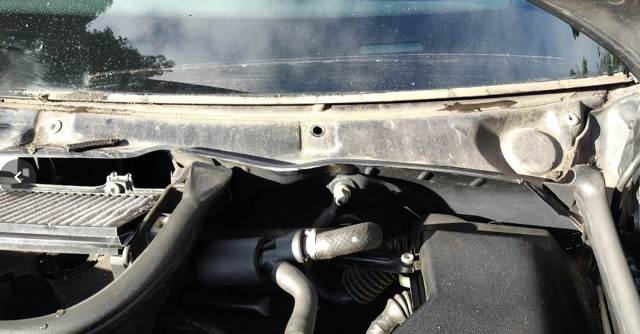
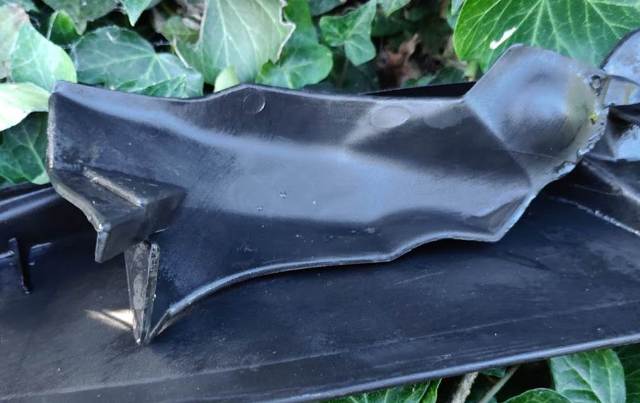
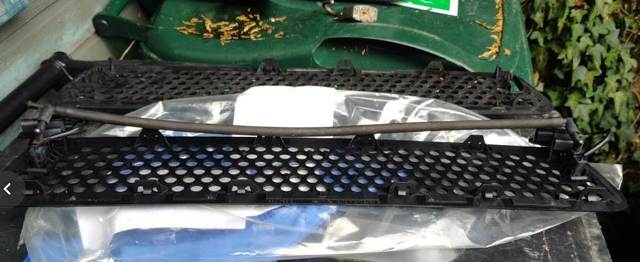
Broken clips on the bonnet grill/windscreen jets need to be resolved, as it was
flapping about in the bonnet hole like a wet fish.
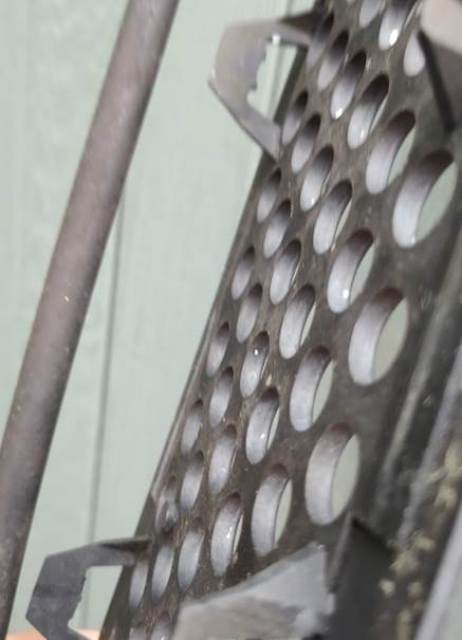
New item again from Harry's.
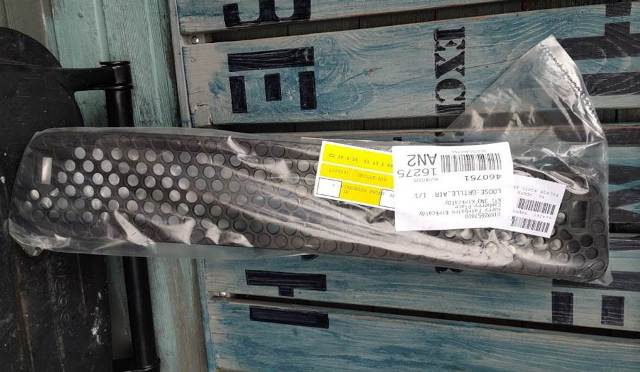
All built up
Then fitted.
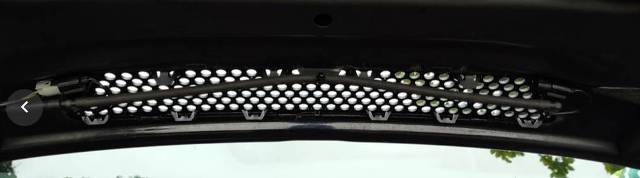
The clips are very stiff and delicate at the same time, so had to try hard
not to snap them.
Found this, and wondered what it goes too. But sure it will work it out at some
point.
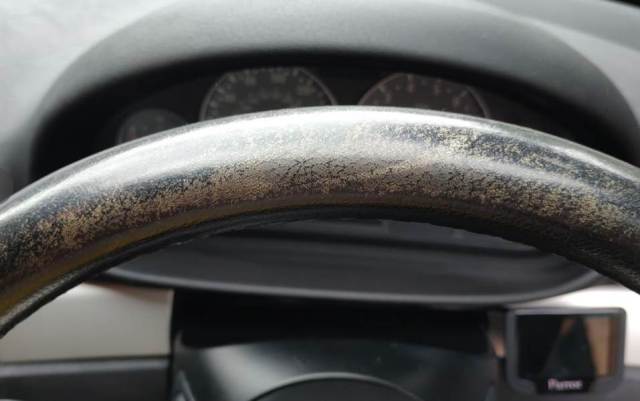
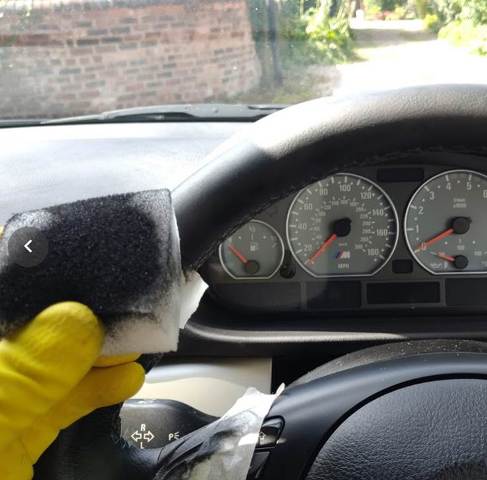
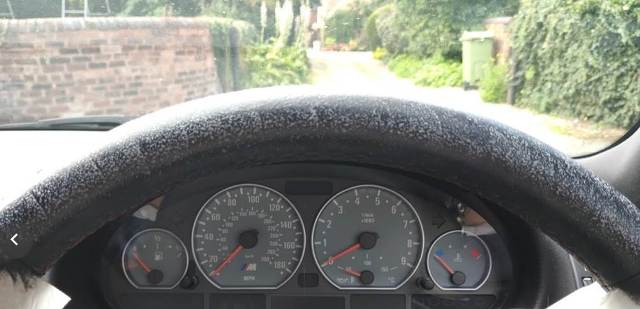
One thing I wanted to address was the steering wheel. As above you can see it
was showing its 19 years. But I didn't want to buy a new wheel if I could help
it and did not want to send it away for 2 weeks, leaving the car stranded. So I
decided to have a go at one of the leather repair kits.
Steps consisted of, leather cleaner, die remover, then building up the black
paint layers, and finished with a self-levelling lacquer, matt or glass to your
taste. I chose gloss to blend with the rest of the worn steering wheel.
Stippling With the supplied applicator sponge helps to leave a textured finish.
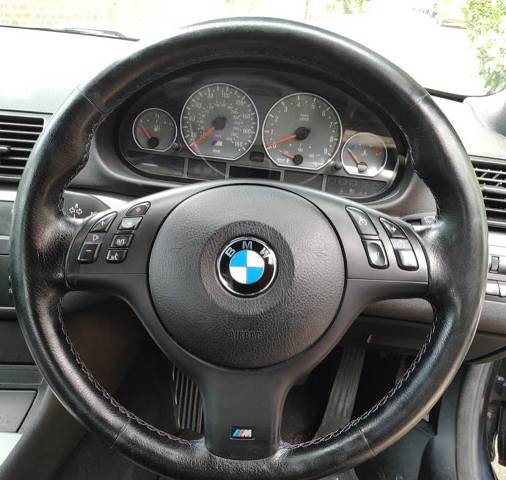
finished, lightly sanded and treated with a leather cream. That will do me,
Cheap at 30 quid.
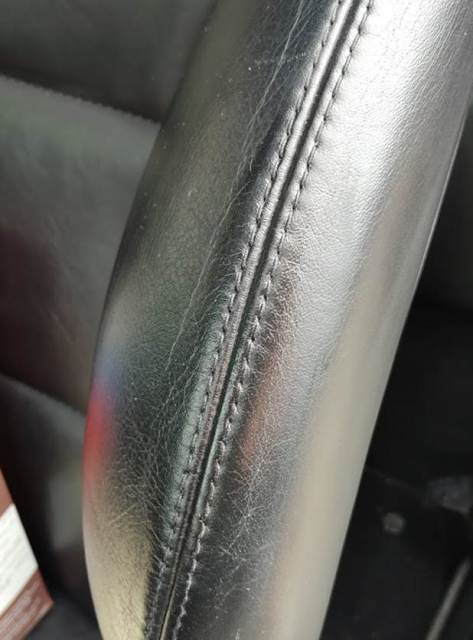
Whilst I had the die out, though I may as well touch in the worn passenger seat
bolster too.
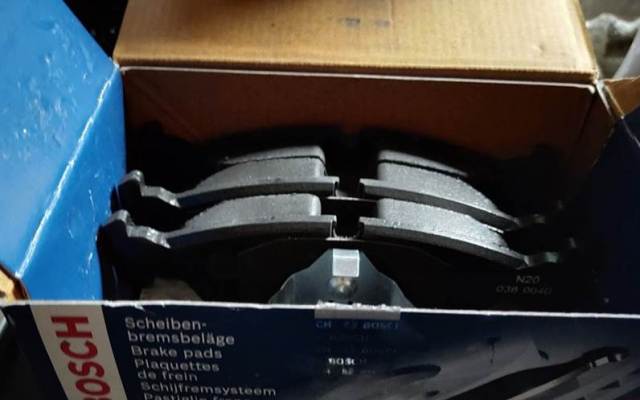
Next job was to address the break wear indicator light that had come on. So a
set of new front pads, not ATE OEM at silly dollars, but some good OE spec
alternatives.
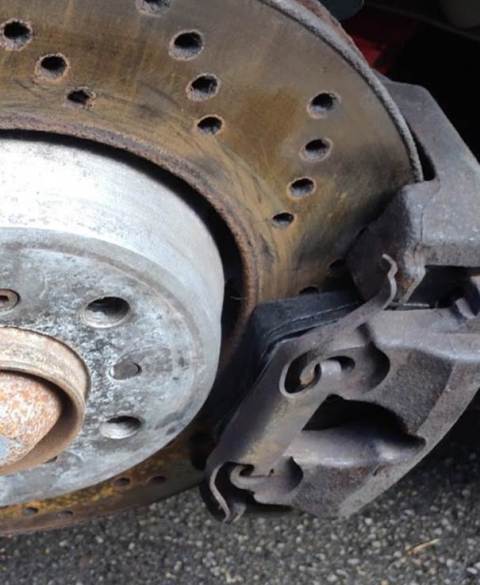
As it happened the old pads were not that bad, but the reason for the warning
light was soon apparent. These should not be disconnected from the sensor.
New brake wear sensor fitted, and some new shoes.
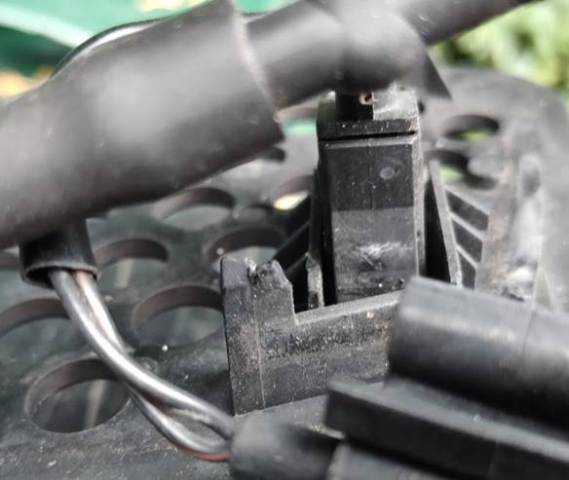
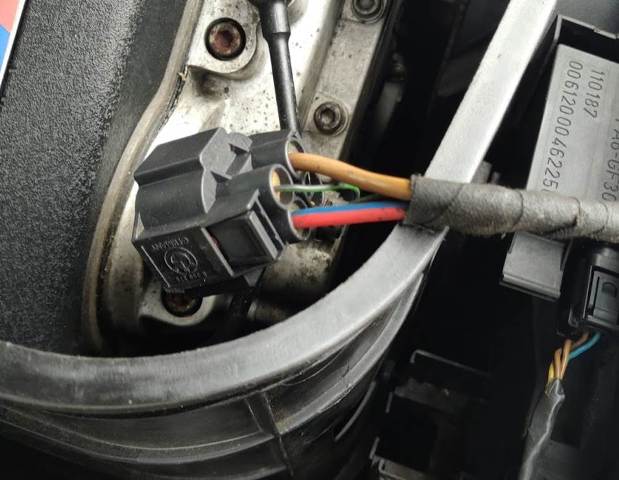
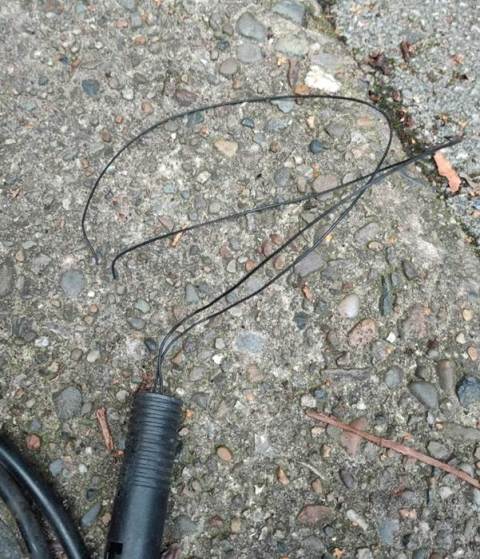
Oh and hang on, after some hunting in the engine bay, I found the male to the
missing female connector that was kicking around earlier.
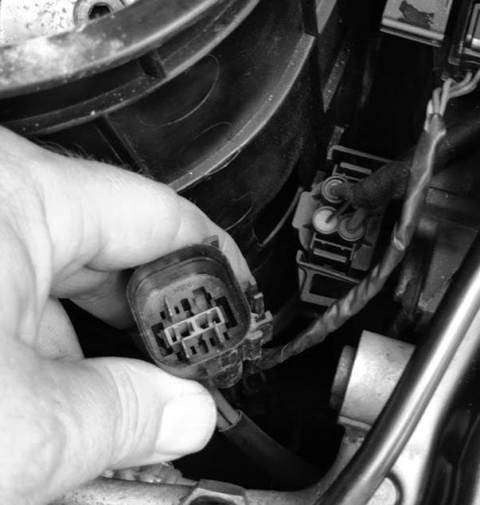
Turns out it's for the Aux fans and should have been connected, but wasn't, and
then closely followed by me finding the AC compressor had also been left
disconnected, and 2 seconds later my AC was working again.
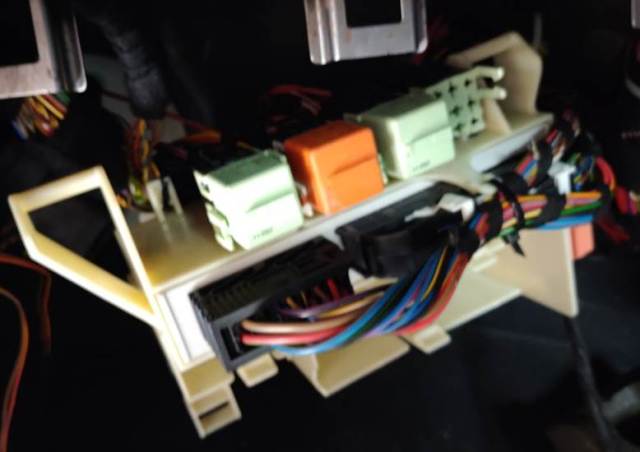
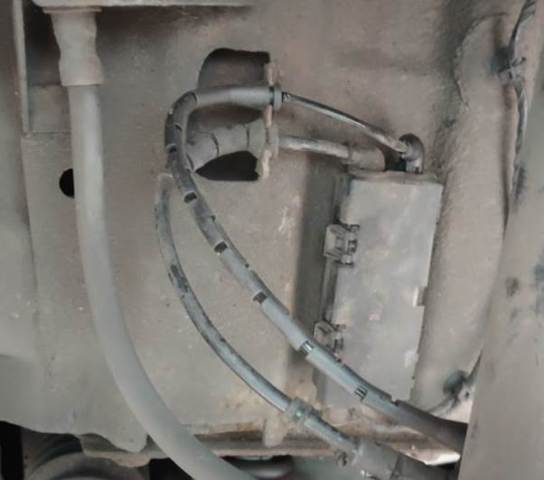
Here above, relay panel out as I was checking AC relays. hidden behind the
glovebox.
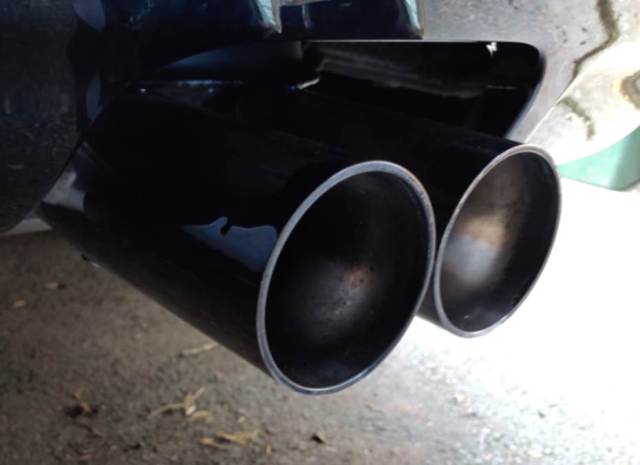
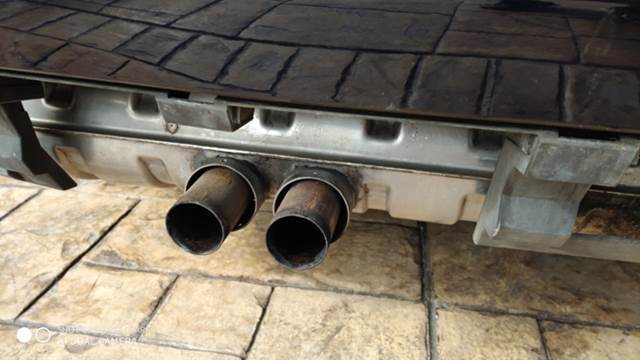
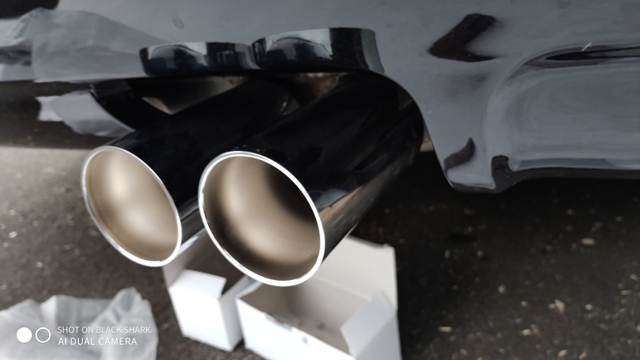
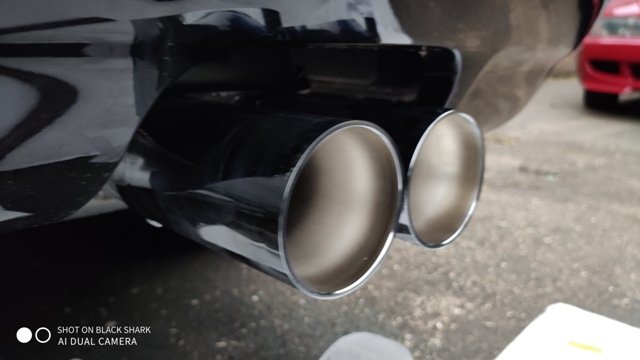
Exhaust tips are not in great shape, but to save costs, I just wire wooled them,
and gave them a polish.
More work on the exhaust tips lead to ordering a new set from BMW as they were
just not coming up as I would lilke. Whilst working on the area, I polished up
the diffuser and got the main rivets out ready for the replacement tips.
Rivets removed.

Diffuser polished.
Much better.
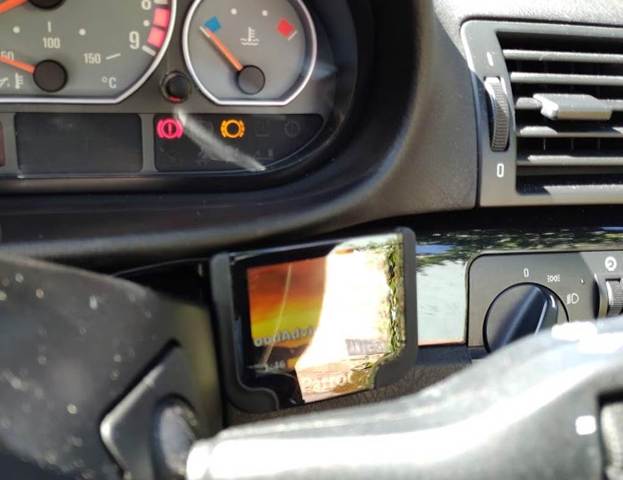
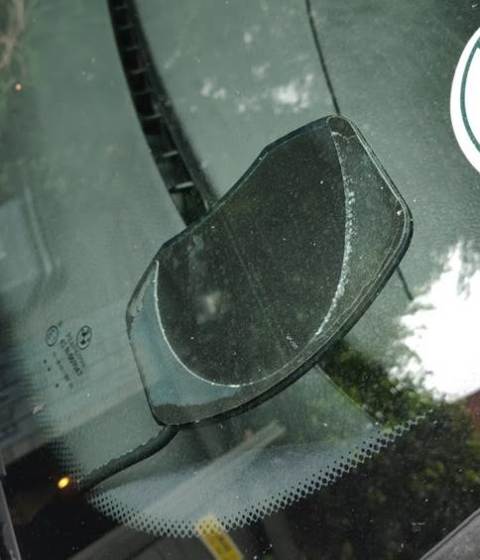
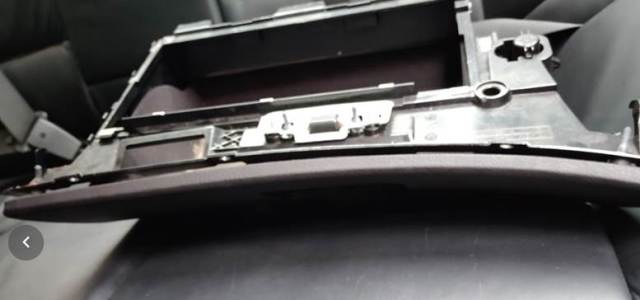
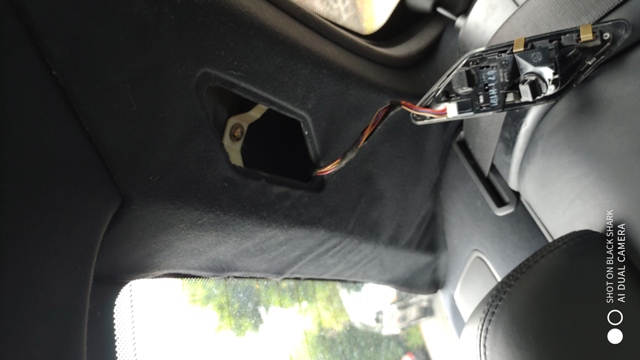
The back to the interior, though I had already moved the Parrot screen, it kept
falling off, and the it was just out of view, making it hard to read, when you
actually needed it.

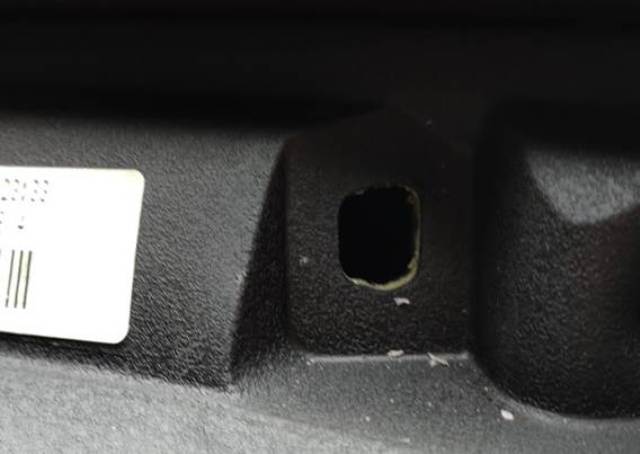
Storage tray out, cable rerouted behind the stereo and AC.
Hole in the scratched cover, to allow the base unit to clip together back onto
its mounting socket, and a small slot for the wire.
And hey presto, mounted out of the way, but still viewable, it no visible wires.
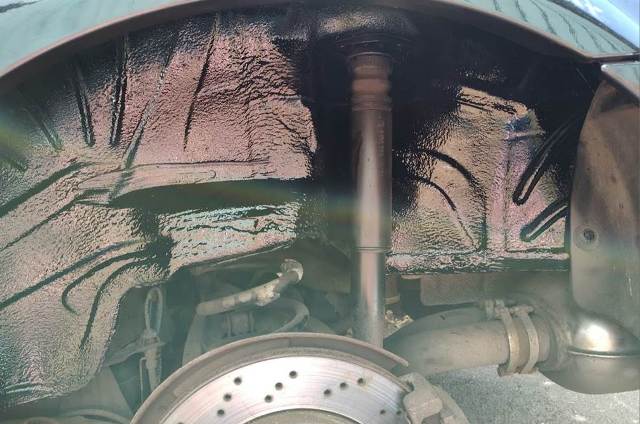
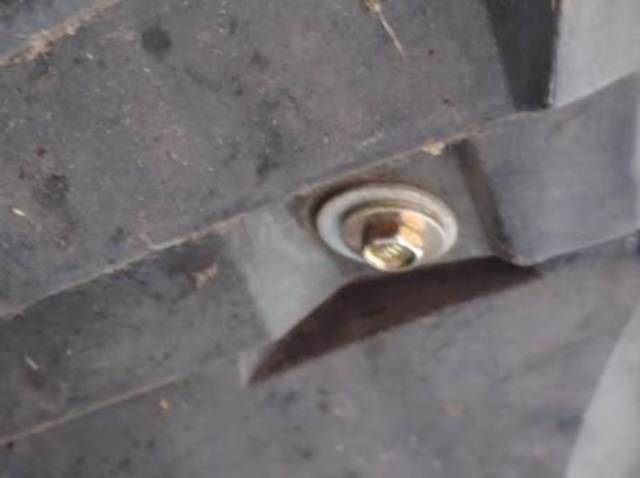
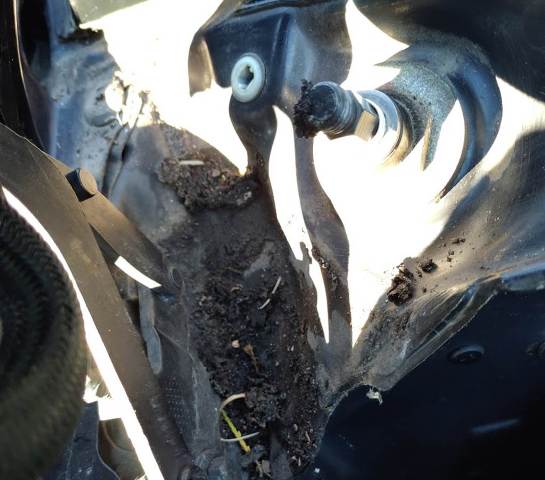
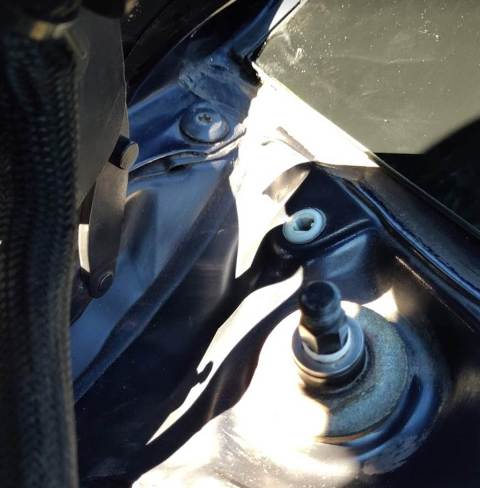
Whilst under the car I noticed one of the exhaust
mounts was torn, so I had to order some more parts.
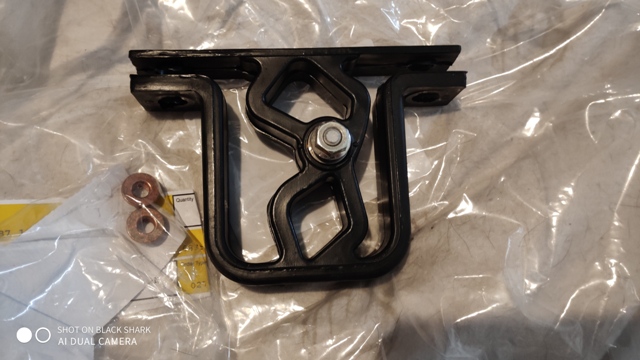
new mount.
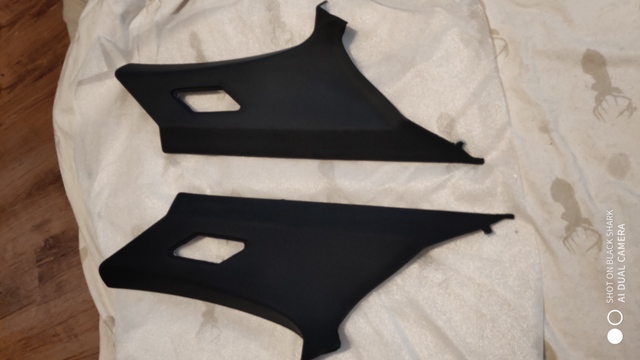
New C Pillar trims, as I lost the battle with the old
ones, after trying and failing to glue them.
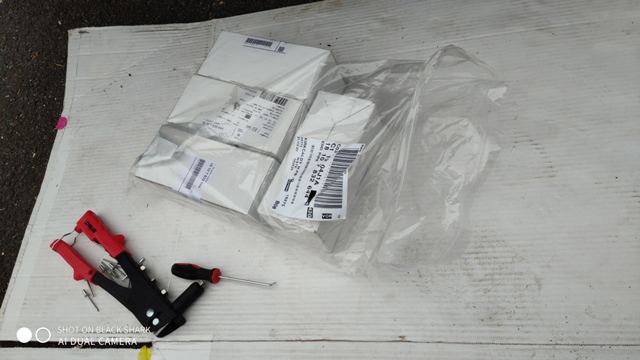
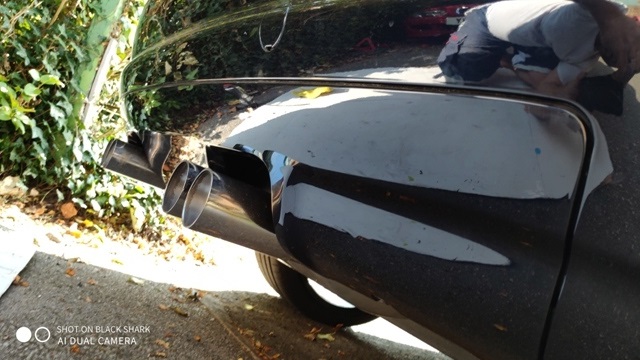
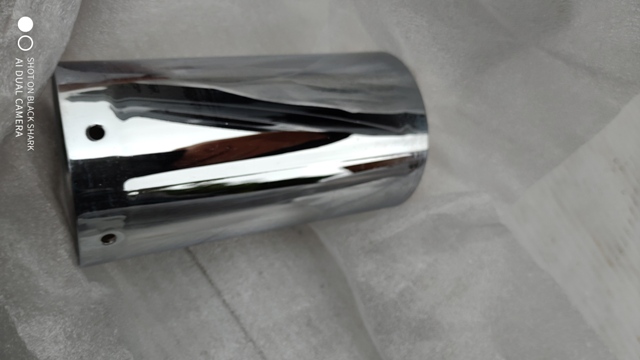
And some new exhaust tips, as they gave me such a good deal at BMW.
Old rear C-pillar trim, looking worse for wear.
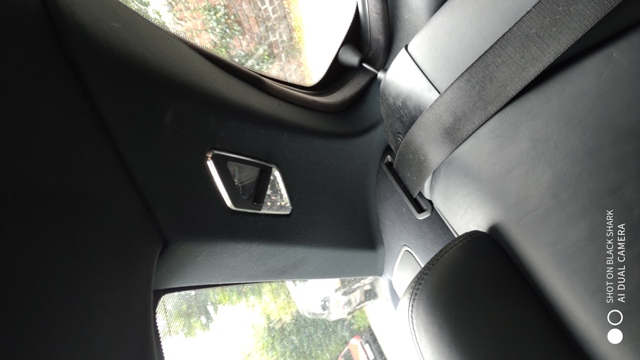
Replaced for new on both sides.
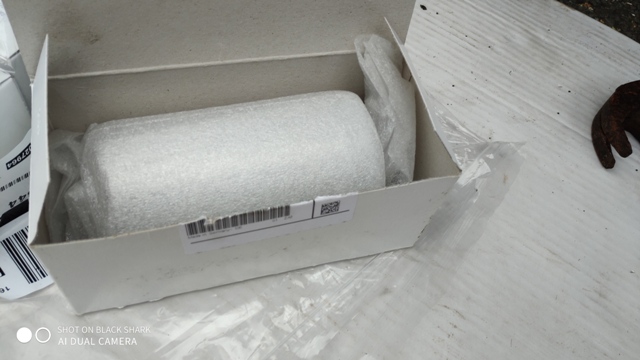
Nicely wrapped tips x 4
Splendid inside and out.
Left...
Right...